On this page (11)
- What changed on the till?
- Why did we change it?
- Can I keep the old way?
- Does it change barcode scanning?
- What does the big photo show?
- How do you use the big photo during a sale?
- How do you switch the setting on a till?
- How does barcode scanning work alongside it?
- Tips for getting the most out of it
- Who is it for?
- Questions people ask
Key takeaways
- Tapping a product shows a big photo and its details instead of adding it.
- The + on the tile, or Add to sale in the photo, adds the item.
- Each till can go back to tap-to-add under "When you tap a product" in the ••• menu.
- Barcode scans still add straight away and close the photo.
What changed on the till?
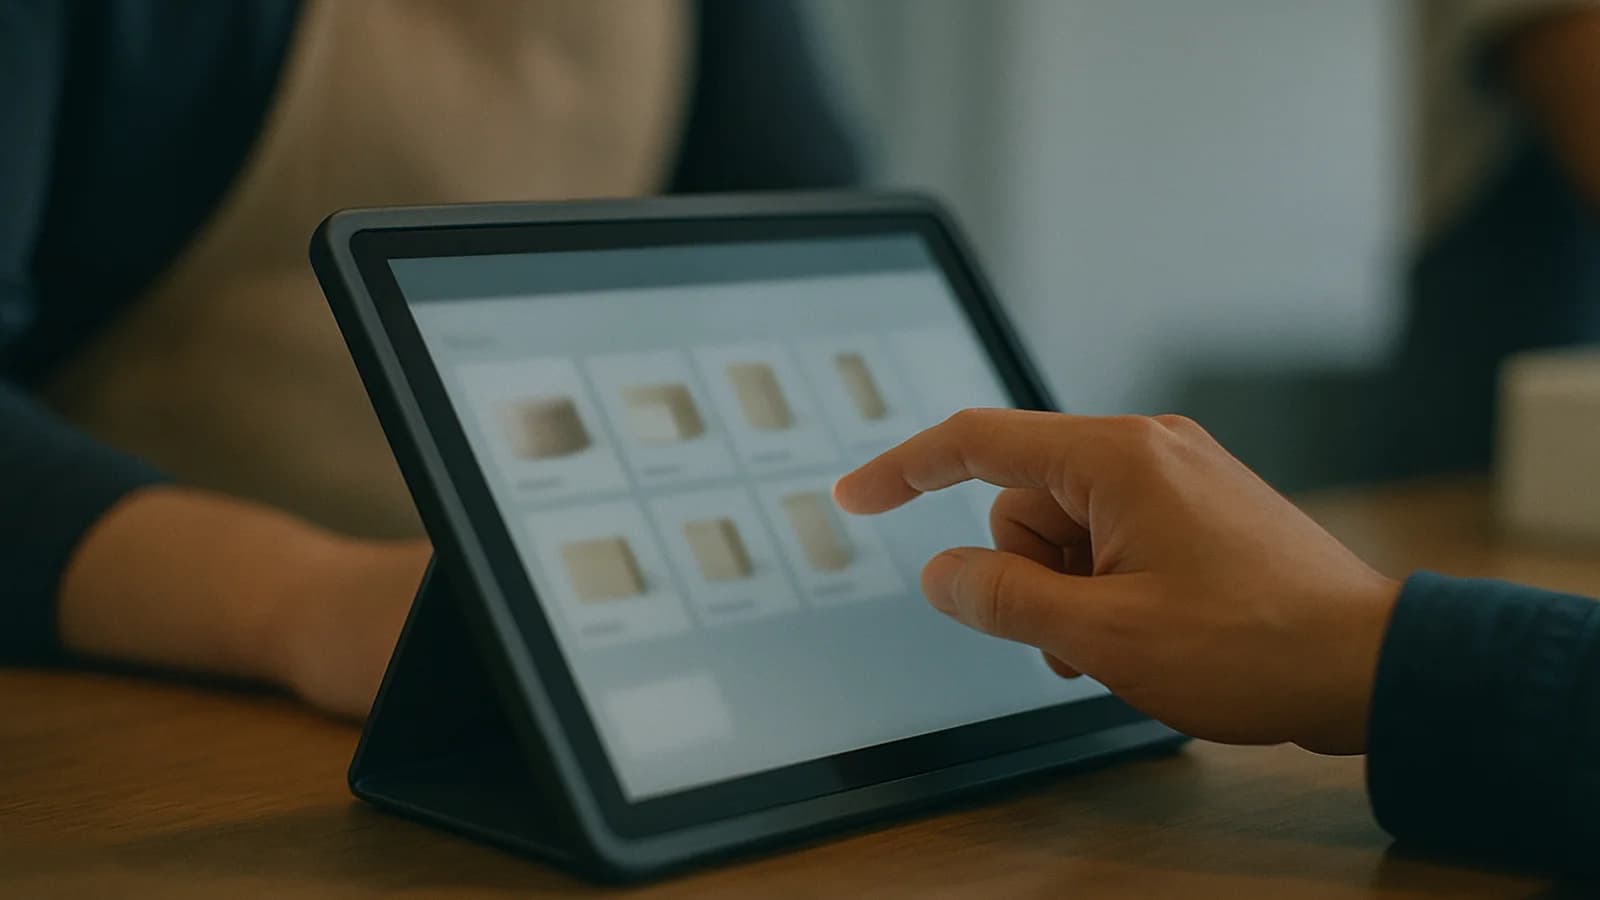
Tapping a product on the EasyTaskr till now opens it big instead of adding it to the sale. The photo fills as much of the screen as it can, with the product's description, price, stock, brand, SKU and barcode underneath. If a product has more than one photo, you can swipe between them.
To add the item, tap the + on the product tile, or Add to sale in the photo. Nothing else adds it.
Why did we change it?
Because a tap is often a question, not a sale. Customers point at the screen and ask "what does that one look like?" Staff tap to check the price or how many are left. When every tap added an item, those questions ended up as wrong lines on the sale that had to be taken off again.
Now a curious tap is just a look. The customer sees the product properly, the cashier can check the stock and barcode, and the sale only changes when someone means it to.
Can I keep the old way?
Yes. Some tills are run by staff who know the range by heart and want one tap per item. Open the till's ••• menu, find When you tap a product, and choose Add to sale. Choose Show photo to go back to the new behaviour.
The setting belongs to each till, not the whole business. A counter till can show photos for customers while a fast back-counter till stays on tap-to-add. With tap-to-add chosen, you can still open the big photo from the small i on the tile.
Does it change barcode scanning?
No. The scanner works exactly as before. A scan adds the scanned item to the sale, and if a photo is open, the scan closes it. The photo is built so a scanner's final Enter key never presses Add to sale by accident, so a scan can never add the product that happens to be on screen.
What does the big photo show?
The big photo shows everything a customer or a new member of staff usually asks about, in one place. What appears depends on the product and on the till's own settings:
| What you see | When it shows |
|---|---|
| Photos, as large as the screen allows | When the product has at least one photo. Swipe or use the arrows if there are several. |
| Name, and category if set | Always. |
| Price per unit | When Show prices is on for that till. |
| Offer price, with the normal price crossed out | When an offer applies to the product. |
| Stock count, for example "42 in stock" | When Show stock on every tile is on. |
| "Only 6 left" or "Out of stock" | When stock is low or gone, whatever the stock setting. |
| Description | When the product has one. |
| Brand, SKU and barcode | Each one only when it is filled in. |
| Barcode & QR | Always. It opens the sheet for printing the product's codes. |
| Add to sale | Always, except for rental-only items, which are hired out from Rent in the top bar. |
A product with no photo opens as a smaller card with the same details, so a missing picture never leaves the screen empty. On a phone the photo fills the whole screen; on a tablet or computer it sits in a large window with the photo on one side and the details on the other.
How do you use the big photo during a sale?
You tap to look, then press one button to add. In practice a sale runs like this:
- Tap the product tile. The big photo opens over the till. Nothing has been added yet.
- Show the customer. Turn the screen or let them look. If there are several photos, swipe through them together.
- Check what you need. Read the price, the stock line and, if it matters, the brand or barcode to confirm it is the right item.
- Press Add to sale if they want it. The photo closes and the item lands on the sale.
- Or close it with the X in the corner, or by tapping outside the window, if they do not. The sale is untouched.
- Use the + on the tile when you already know the item. It adds straight away without opening anything.
- Scan at any time. If a customer hands you a different product while a photo is open, scan it: the photo closes and the scanned item is added.
- Take payment as normal. The photo has no effect on the cart, discounts or checkout.
The same works in the list layout: tapping a row opens the big photo, and the round + at the end of the row adds it.
How do you switch the setting on a till?
It takes a few seconds and only changes the device you are holding:
- Open the till.
- Tap the ••• button (More till options) at the top right of the till.
- Find When you tap a product.
- Choose Show photo to open the big photo on a tap, or Add to sale to add the item on a tap.
- Read the line underneath. With Show photo it says "Tap + to add. Saved on this device only."; with Add to sale, "Saved on this device only."
- Tap outside the menu to close it. The choice is saved on that device straight away and is still there tomorrow.
With Add to sale chosen, each tile gets a small i button. Tap it when you do want the big photo. A new device starts on Show photo, except on a restaurant till, which starts on Add to sale so orders go in at full speed. Either way the choice is kept once someone changes it, and a product with no photo always adds on a tap.
How does barcode scanning work alongside it?
Scanning is untouched by the photo setting, and it is worth knowing exactly what the till does with each scan:
- A USB or Bluetooth scanner is always listening. There is nothing to switch on. A known code goes straight into the sale.
- Scanning the same item again adds one more. There is no need to type a quantity for a run of the same product.
- A multipack or case barcode adds the whole pack. A barcode set up for a case of 12 puts 12 singles on the sale.
- An unknown code does not fail silently. The till plays a soft warning sound and opens the New barcode sheet, where you can type a name and price to create the product, or link the code to a product you already sell.
- The camera works too. Tap the scan button in the till's top bar and point the device's camera at the barcode.
- The till checks its own product list first, so scans of known products keep working if the connection drops.
One small exception: while the Barcode & QR sheet is open for printing codes, the till stops listening for scans, so printing a label cannot add anything to the sale by accident.
Tips for getting the most out of it
A few habits make the big photo far more useful:
- Add more than one photo to products that customers ask about: the front, the back, the label. They can swipe through them.
- Fill in the description with what people actually ask: size, colour, what it fits, what is in the box.
- Keep stock counts honest. The stock line on the photo is only as good as your last count; a regular stocktake keeps it right.
- Pick tile sizes per counter. On a tablet or computer, Bigger pictures (S, M or L) and Per row in the same ••• menu change the tiles themselves. Large tiles with names and prices suit a counter where customers look on.
- Hide prices on a customer-facing screen if you agree prices case by case. Switch off Show prices and the photo shows no price either.
Who is it for?
Any shop where customers look at the till screen, or where products look alike and the photo settles the question: hardware, electronics, paint, cosmetics, pharmacy, gifts. It also helps new staff, who can check what a product is before they sell it.
If you want help choosing which setting suits each counter, our POS buying checklist covers how to think about counter speed, and stock control explains why the stock figure on the photo is only as good as your counts.
Questions people ask
How do I make tapping a product add it to the sale again?
Open the till's ••• menu, find "When you tap a product" and choose Add to sale. The setting is kept on that device, so each till can work its own way.
Does the barcode scanner still work while the photo is open?
Yes. A scan adds the scanned item and closes the photo, so cashiers can keep scanning as normal.
Why does the photo not show a price?
Show prices is switched off in the till's ••• menu on that device. Switch it back on and the price shows on the tiles and in the big photo.
What happens if I scan a barcode the till does not know?
The till plays a soft warning sound and opens the New barcode sheet. Type a name and price to create the product there and then, or link the code to a product you already sell.
Does changing the setting on one till change it for everyone?
No. The choice is saved on that device only. Every other till, tablet or phone keeps its own setting.
Can I make the product tiles bigger as well?
Yes, on a tablet or computer. In the ••• menu, Bigger pictures sets small, medium or large tiles, and Per row sets how many tiles sit across the screen.